Tags
ann lindsay, clouds, omega, rain, sky, storm, Technique, Watercolor, Workshop
In my previous post, I wrote about a recent watercolor workshop I attended by Ann Lindsay at Omega Institute in Rhinebeck, NY. Ann pointed out that in order to stay in the right brain (which is the creative brain), we need to stick to drawing/painting three things:
- Color
- Shape
- Value (light/dark)
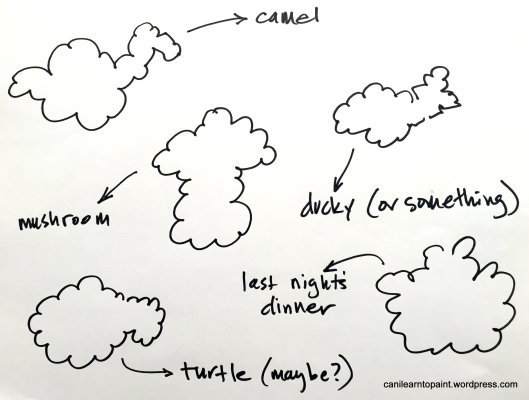
If left brain gets involved, we end up painting what we think we see rather than what we actually see. And often, what we think we see looks more like something from 3rd grade art class. For example, the 3rd grade brain (where many adults are stuck when it comes to art) sees clouds like this:
And every so often, clouds actually do cooperate with our 3rd grade brain.
(thank you, www.pinterest.com/vepattyn/wolken/ for collecting some awesome cloud pictures!)
But most of the time they don’t. Most of the time, clouds are an amazing array of random shapes and colors and values. Here are some stunning cloud pictures taken in NYC:
(thank you Laura Butler for keeping me supplied for my clouds study!)
These pictures illustrate how wonderfully diverse clouds are (even the absence of clouds), and how tantalizingly they call out to be painted!
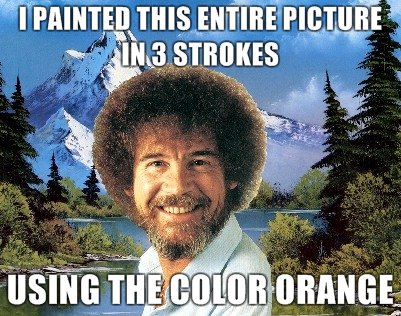
But before I jump into what I learned about clouds, this post begs for a shout-out to the late Bob Ross and his happy little clouds.
(thank you icanhascheezburger.com)
And if you want an even more inspiring walk down memory lane, check out this cool Bob Ross YouTube remix!
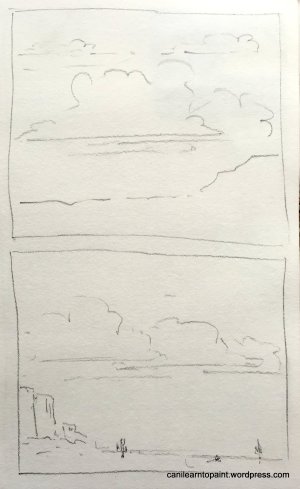
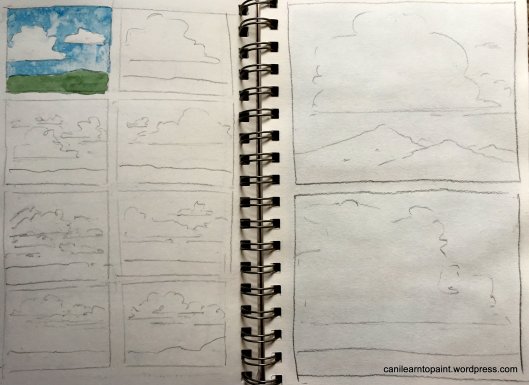
Early in the workshop Ann had us turn our attention to clouds. We first took out our sketchbooks and let our right brain go free, quickly sketching all kinds of clouds.
Various positions, numbers, shapes, etc. It sounds counterintuitive, but it actually takes a lot of practice to paint something that looks random. Without practice, our left brain takes over and we tend to paint in patterns, which often ends up looking unnatural and blah.
The next step was to learn some techniques for actually painting clouds. I’m sure there are many, many more, but here are three easy and effective techniques I learned:
Lifting paint with a tissue. First you put down a wash of your sky color (Cerulian Blue makes a good sky). While the paint is still wet, you loosely crumple a tissue and role it across the wash. The tissue soaks up paint where it touches the paper, leaving white shapes (that look like clouds). I found this worked best when I first took a deep breath to get out of my head and into my hands.
There are two mistakes you can easily make with this method. It’s very tempting to use a blotting motion rather than a rolling motion. But blotting tends to leave predictable, cotton ball shapes rather than random cloud shapes. The second mistake is to go back and overwork your clouds after the initial pass.
A variation of this method is to roll the tissue tightly into a long, skinny band, and then to press the band into the wet wash. This produces a thin, wispy cirrus cloud.
Lifting paint with a brush. This method is similar to the first, but instead of using tissue paper, you use a very slightly damp brush (I used a #10 round). While the sky wash is still wet, you roll the brush across the paper, lifting the paint as you go. As with the first method, it’s important to stay away from blotting and overworking.
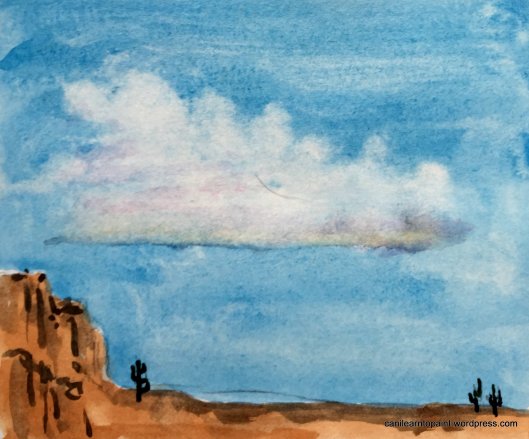
Painting around the cloud shape. To do this, you need an idea of where your clouds are going to go. You can do this by lightly drawing your cloud shapes with pencil. Then, as you lay down the sky wash, paint around your clouds. When I watched Ann do this, she held her brush every which way as she painted around the cloud shapes, sometimes using the side of the brush, sometimes rolling it, and sometimes using the tip. This creates a nice, random mix of hard and soft edges, and helps make sure your clouds aren’t too left-brain. It’s important to use lots of water with this method.
Both methods have their merit. I found it easier to get natural-looking soft edges (clouds have both soft and hard edges) with the tissue method. But the painting method seems to make for a more dynamic sky, as the blue goes down at the same time that the cloud is being “painted,” so cloud and sky seem to be more organically connected.
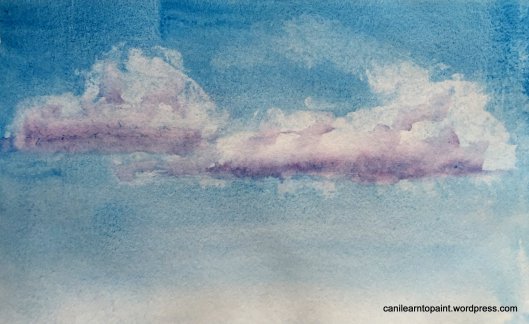
Shadows. Clouds have shadows. Who knew? If you look closely at clouds (which I have taken to doing a lot of lately), you’ll see there are indeed all kinds of shades. Those are shadows. Ann suggested using a light purple for the shadows, which are located almost always along the flat bottom of a cumulus cloud, but are also found spread throughout the body of the cloud, depending on where the sun is at the moment.
Here’s your basic cumulus cloud with shadows:
And some close-ups, because hey, who doesn’t like a good cloud close-up?
For the shadow color I used primarily Dioxazine Violet (which is a pre-mixed violet I have in my pallet). But I also dropped in a darker mix of Ultramarine Blue and Burnt Umber to give more dimension to the shadows.
And then I went hog wild with my clouds…
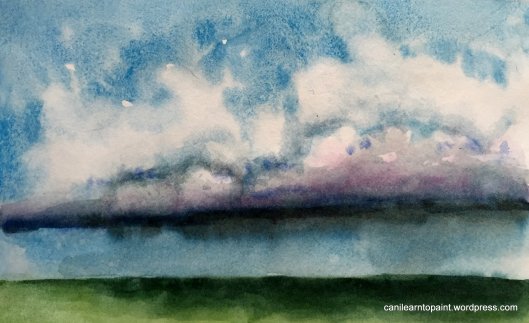
This was my attempt at a storm on a prairie. I tried to create the illusion of rain by first painting clear water onto the dried blue sky and then dropping in the dark (Ultramarine and Burnt Umber mix) at the cloud line, holding the painting vertical to let the dark paint stream down like rain lines.
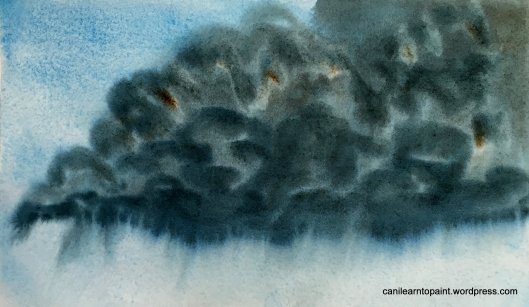
Because I had such a fun time trying to create rain in the previous painting, I decided to go for broke and do full-storm. Unfortunately, I think this ended up looking more like a rain cloud on fire, with smoke erupting from the base of the cloud.
Maybe I should call this Crying Cloud. Or Crying Fire. Or 3-Alarm Cloudburst.
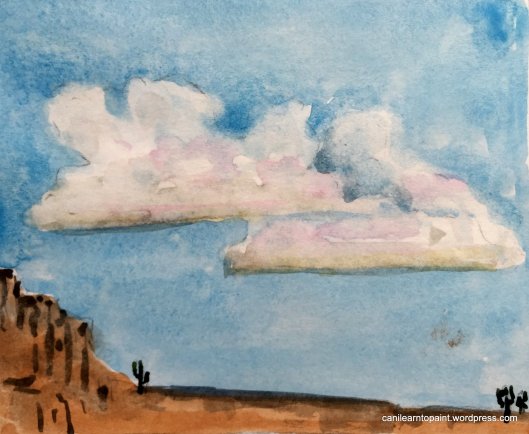
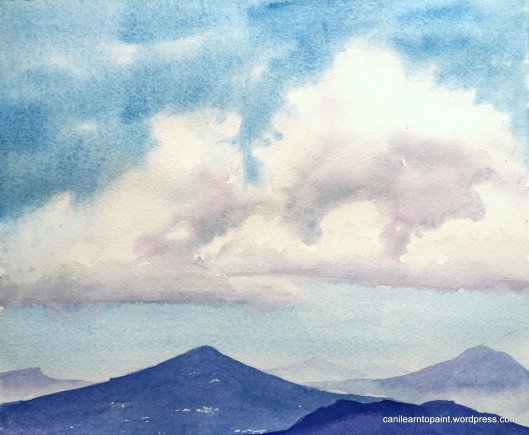
I really like how the clouds turned out below. I used the paint-around-the-clouds method here, going in after the initial wash (while it was still wet) and softening some of the cloud’s edges. I also practiced getting depth in the mountains by varying the value (lighter mountains in the back and darker in the front). I would later learn that the background mountains should be more blue and the foreground more mountain-color (e.g. brown/green) if I want to enhance the illusion of depth.
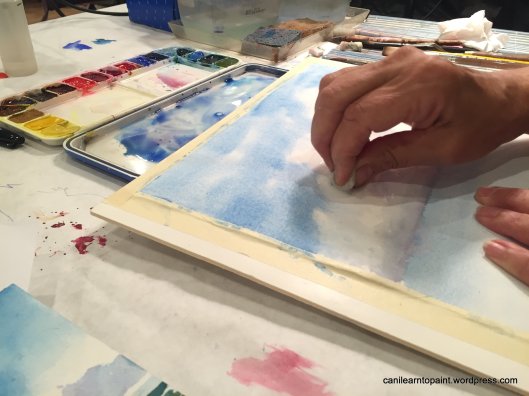
Some say that you can’t go back and fix or touch-up watercolor. Ann showed us all kinds of ways to touch up a painting. This picture shows her doing a little cloud touch-up to the painting above. I thought my clouds looked unnatural, so she showed me how to soften some of the edges by rubbing off paint with a wet tissue. It’s a fine line between touching up and overworking!
As I learned in Ann’s workshop, one can devote hours, days, years to mastering The Cloud. It takes practice, practice, practice for clouds to end up looking like you created them effortlessly. Ann makes it look so easy. Just like Bob Ross did.
Clouds are fun to paint, and often the more that goes “wrong,” the more right the painting looks in the end. And that, my friends, is another key lesson I learned from Ann’s class: there’s no such thing as a mistake in watercolor. I learned that from Bob Ross, too.
(Thank you redbubble for the Bob Ross graphic)








Your clouds are wonderful! Thanks for sharing so much good information with us also!
LikeLike
Thank you for stopping by, Laura!
LikeLiked by 1 person
Absolutely love this David! Not only have I spent a lifetime with my head in the clouds, but I have photographed and attempted to paint them for years. You have the makings of a book with these last two postings – can’t wait to hear more. Thanks for sharing!
LikeLike
Thank you, Barbara! If you’re going to have your head in the clouds, you might as well paint ’em, eh?! How I wish you’d been able to attend the workshop. 🙂
LikeLike
Hi Dave! I really like the storm cloud! Thanks for sharing!
LikeLike
Thank you for stopping by!!
LikeLike
Pingback: Marcia, Marcia, Marcia | canilearntopaint
Pingback: A Mountain Study – Part 3 | canilearntopaint